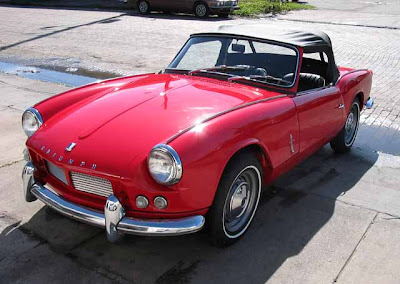
Triumph Spitfire Cars

Picture Of
The main aim of the next part of the work is to remove various bits and pieces so that I can pull the engine and gearbox. When I first bought the
car the first thing I did was change all the water hoses and clips so I removed these first carefully so that I could reuse them once the
restoration was complete. As the hoses had only been on for about 6 months these came of nice and easily. With the hoses removed the next job was to take out the radiator which was a real pain, the bolts came out of the radiator without any problems and enabled me to remove the radiator for safe keeping and checking later. The pain was that the support brackets which support the radiator to the chassis would not come off the chassis and they are right in the way so every time you do work in that area you were guaranteed to catch yourself on one of them. I soaked the bolts is loads of penetrating oil and eventually with a little help from a big hammer they gave in and came off.
To make the engine lighter and easier to lift the next job was to take off the engine ancillaries such as the alternator, starter motor, carbs and manifolds. These all came off without any problems and were stored carefully in labelled boxes to be cleaned up and checked at a later date.

Picture Of
Triumph Spitfire Cars
With the radiator and engine ancillaries removed there is so much more room so any remaining wires were labelled and any other bits and pieces which could get in the way during the lift (such as the horns) were also removed at this point.


No comments:
Post a Comment